

How to Plan a Restaurant Menu for Commercial Printing in Hong Kong
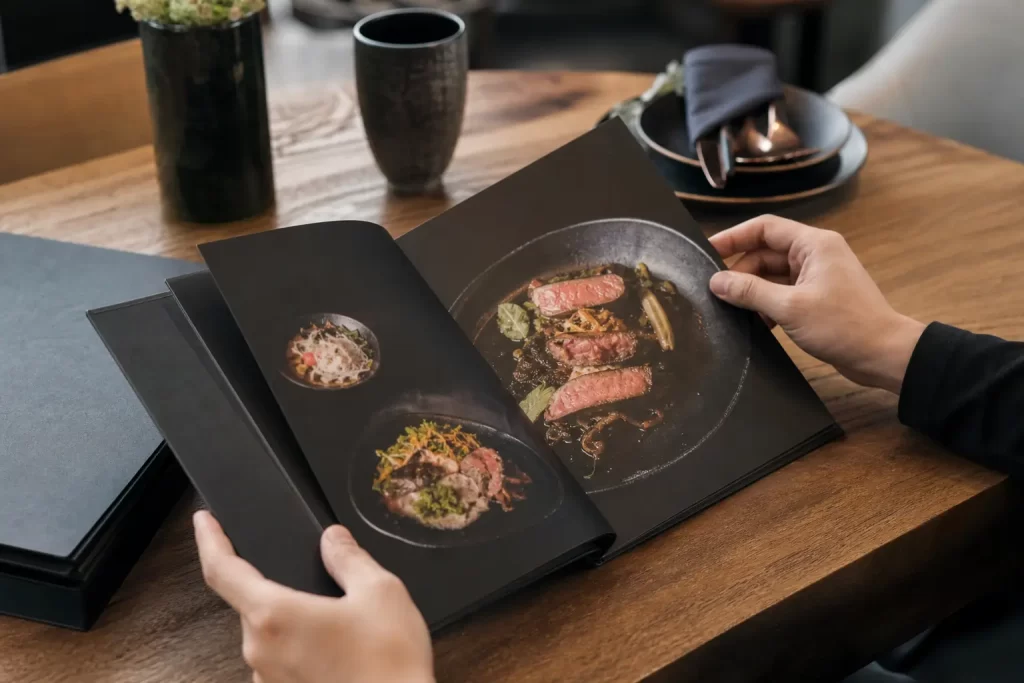
Plan a restaurant menu for commercial printing in Hong Kong by finalising the menu content and usage, selecting a format and durable material, and delivering print-ready files with correct bleeds, colour mode and embedded fonts; confirm proofs and production details with your commercial printer to secure legibility, durability and brand consistency.
How do I define the menu’s scope and content?
Scope and content define the final dish list, organisation, dietary information and imagery that the printer will reproduce.
- Decide the menu’s purpose and frequency of updates: main menu, drinks, specials or disposable menus.
- Finalise text elements: dish names, short descriptions, ingredient/allergen notes and clear labelling for modifiers (e.g., vegetarian, spicy).
- Prepare imagery and icons: use print-quality photographs and vector icons; low-resolution images reproduce poorly in print.
- Organise hierarchy: group items into sections (starters, mains, desserts) and assign consistent type sizes for headings, prices and descriptions.
What format and size should I choose?
Format and size determine layout, folding and how diners handle the menu, so pick a format that suits service style and table space.
- Common formats: single flat leaflet, bi- or tri-fold, multi-page saddle-stitched booklet or rigid menu card.
- Consider readability: fewer columns and larger type improve legibility in low lighting; choose a format that supports your content length without overcrowding.
- Plan for handling and storage: pocket menus, table tents and binders change the material requirements and finishing choices.
Which substrates and finishes work best for restaurant menus?
Substrate and finish choices affect durability, cleanability and the menu’s tactile impression, so choose a stock and finish that match expected handling and brand aesthetics.
- Substrate options: coated paper for vibrant colour, uncoated paper for a tactile matte feel, and synthetic or plastic stocks for best spill resistance.
- Finish options: lamination (matte or gloss) and varnishes increase cleanability; spot UV, foil, embossing and debossing add accents but change cleanability and cost.
- Trade-offs: protective lamination improves longevity but reduces recyclability; decorative finishes add perception of quality but may complicate cleaning and reorders.
- Define technical term: “substrate” means the material (paper, board or synthetic) onto which printing is done.
Which printing processes and colour options should I consider?
Printing process and colour options determine colour fidelity and cost structure, so choose digital for short runs and variable data or offset for larger consistent runs and tight colour control.
- Printing process: digital printing handles short runs and variable menus; offset printing offers consistent colour for longer runs.
- Colour choices: CMYK (four-colour process) covers most full-colour needs; spot colours (Pantone) are used for exact brand matches or metallics.
- Trade-offs: spot colours reduce colour variance for brand elements but add setup complexity; CMYK is economical for photographic menus.
- Define technical terms: “CMYK” is the four-colour printing process using cyan, magenta, yellow and black; “spot colour” is a pre-mixed ink used when exact colour matching is required.
How do I prepare print-ready artwork?
Print-ready artwork preparation requires correct colour mode, embedded fonts, bleed and a press-ready PDF format such as PDF/X.
- Colour mode: set artwork to CMYK or specify Pantone spot colours where needed; avoid submitting RGB files for final print.
- Bleed and safety: include bleed beyond the intended trim edge and keep critical text inside a safe margin away from trim.
- Fonts and graphics: embed or outline fonts and supply high-resolution images; provide vector logos for best sharpness.
- File format: supply a press-ready PDF (PDF/X is a print industry standard) and include crop marks and bleed.
- Define technical terms: “bleed” is an area of artwork that extends past the final trim edge so colour/images reach the page edge after cutting.
What proofs and prepress checks should I request?
Proofs and prepress checks verify colour, layout and legibility, so obtain a proof and complete a prepress checklist before authorising production.
- Types of proof: request a digital proof for layout checks and a contract or press proof for critical colour verification when colour accuracy matters.
- Prepress checks: check spelling, font embedding, image resolution, correct colour mode, bleed, trim marks and page order.
- Confirm finishes: check how varnish, lamination or coatings will interact with printed colour and how decorative finishes align with artwork.
How should I coordinate production and reorders with the printer?
Production coordination requires clear specifications, approved proofs and agreed packaging and delivery instructions with your commercial printer.
- Provide the printer with finalised artwork, material choice and finish details, and confirm the approved proof before production starts.
- Keep a master file and production notes (materials, varnish, spot colours) so reorders match the original run.
- Agree on packaging and inspection criteria to ensure menus arrive undamaged and ready for service.
What common mistakes should I avoid?
Common mistakes include providing RGB files, missing bleed, using low-resolution images and leaving finishes undecided before proof approval.
- Avoid RGB files: convert images and artwork to CMYK or specify spot colours as needed.
- Include bleed: missing bleed causes unwanted white edges after trimming.
- Use adequate image quality: low-resolution images appear pixelated in print.
- Decide finishes early: last-minute finish changes can delay production and alter appearance.
What should my final pre-submission checklist include?
Final checklist includes final text, print-ready PDF, approved proofs, substrate and finish choices, and delivery instructions for the printer.
- Final text and imagery, spelling checked and layout approved.
- Print-ready PDF with bleed, crop marks and embedded fonts (PDF/X where possible).
- Selected substrate and finish options documented and proof approved for appearance and cleanability.
- Master files and production notes saved for future reorders.
Summary: finalise content and format, choose appropriate substrate and finish for durability, prepare a press-ready PDF with correct colour mode and bleed, and confirm proofs and production details with your commercial printer to ensure the delivered menus meet legibility, durability and brand expectations.
Discuss your print project or request a tailored quote from PrintPlus.