

How to Arrange Booklet Pages Before Commercial Printing
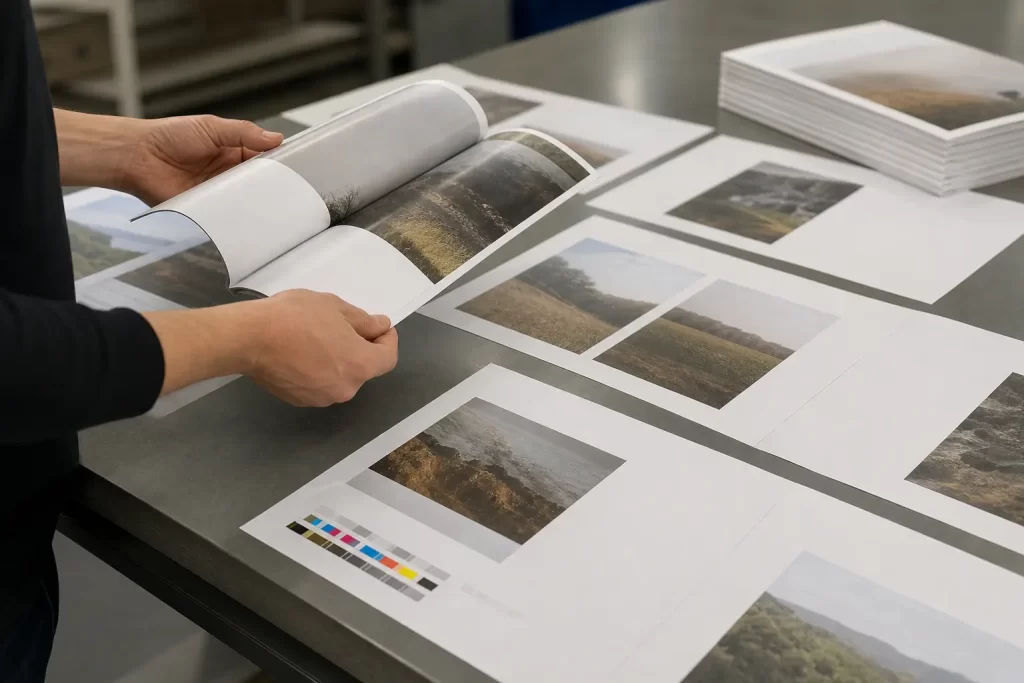
Arrange booklet pages as single, reader-order pages with the final trim size and any required bleeds set, and let the commercial printer perform the physical imposition (grouping pages into folded signatures) unless you have the printer’s exact signature and imposition rules. This approach prevents mis-ordered spreads, missing blank pages and incorrect gutters.
How should I plan the booklet’s pagination?
Pagination: Plan the booklet’s pagination as a simple sequence of single pages in reading order (page 1, page 2, page 3, etc.), and keep a separate pagination checklist mapping content to page numbers.
Practical steps:
- List the total page count and where each chapter or section begins.
- Decide whether facing-page spreads are required for specific designs and note which pages must appear as a spread.
- Record locations where blank pages will be acceptable (for example, to start a new chapter on the right-hand page).
What document size and margins should I set?
Document size and margins: Set the document to the final trim size the booklet will be cut to, and choose inner and outer margins that leave enough room for text and imagery away from the binding area.
Practical steps:
- Use the printer’s specified trim dimensions; do not assume sizes.
- Set a larger inner margin (the gutter) where pages meet the spine and ensure text or critical artwork does not sit in that area.
- Keep decorative elements and important copy a safe distance from trim and binding edges per the printer’s guidelines.
Should I provide spreads or single pages?
Spreads vs single pages: Provide single pages in reading order unless the printer requests a printed-spread or fully imposed PDF; supply spreads only when artwork intentionally crosses the gutter and your proofing requires a two-page view.
Trade-offs:
- Single pages in reading order simplify pagination, page numbering and corrections.
- Two-page spreads are useful for design review and for content that must align across the gutter, but they can complicate numbering and imposition.
What is bleed, and how do I prepare it?
Bleed: Bleed is the area of artwork that extends beyond the trim edge so that printed color or images reach the final cut edge without white slivers after trimming.
Practical steps:
- Extend backgrounds and artwork that go to the edge of the page beyond the trim edge by the amount the printer specifies; do not rely on guesses.
- Keep any critical text or logos inside a safe margin inside the trim edge, as defined by the printer.
- Include crop marks to indicate the intended trim box if the printer requests them.
What is a signature and how does it affect page arrangement?
Signature: A signature is a group of pages printed on a single sheet and folded together; signature structure dictates that the total page count often needs adjusting so sheets fold and bind correctly.
Practical steps:
- Ask the printer whether they will impose signatures themselves or require an imposed PDF from you, and confirm any required multiples for total pages.
- Insert blank pages where necessary to reach the printer’s required multiple so that content alignment and chapter starts fall as intended.
- Mark clearly where intentional blanks are placed (for example, with a note in the pagination checklist).
How should I export files and what checks are required?
File export and checks: Export high-quality print-ready PDF files using the printer’s required PDF standard and carry out final checks for fonts, image links, colour and page order before submission.
Practical checklist:
- Embed or outline fonts so substitutions cannot occur.
- Ensure all linked images are included and at the resolution specified by the printer.
- Verify that bleed, trim box and crop marks are present if required, and that the pages are in the agreed order (single-page sequence unless an imposed file was requested).
- Include a simple content map or pagination checklist with your files so the press operator can verify sequence and blank-page placement quickly.
Should I impose pages myself or leave it to the printer?
Imposition responsibility: Leave imposition (the technical arrangement of pages on press sheets) to the printer unless your contract explicitly asks for an imposed PDF that matches the printer’s exact imposition template.
Why and when:
- Printers use specific folding, binding and press layouts that vary by equipment; incorrect self-imposition can cause misfolds and extra costs.
- Provide an imposed PDF only if the printer supplies their imposition template and acceptance criteria in advance.
What common mistakes should I avoid?
Common mistakes: Avoid providing files with incorrect page order, missing bleeds, fonts not embedded, or an uncommunicated total page count that doesn’t match the printer’s signature requirements.
- Do not submit spreads as the only file unless the printer expressly asks for them.
- Do not assume bleed, gutter or signature multiples-confirm with the printer.
- Do not leave ambiguous blank pages; label intentional blanks clearly in your pagination checklist.
Quick summary
Summary: Prepare single pages in reading order at the final trim size, include the printer-specified bleed and safe margins, confirm signature and imposition requirements with the printer, and export a checked, print-ready PDF with embedded fonts and included image links.
Discuss your print project or request a tailored quote from PrintPlus.